This is the third part in an n-part series about the JavaScript framework, Angular 6.
In this part, we’ll go over using Angular Material with Angular 6 Applicatin.
This is not intended to be a complete guide, but rather an overview of the basics to get you up and running so you can get to know using Angular Material and how to use it with our Angular 6 application.
Article Series
- Angular 6 Article Series
- Building Angular 6 Application
- Using Angular Material with Angular 6 (You’re here)
- Deploy Angular 6 to Netlify
- Deploy Angular 6 Application to Netlify (Soon)
- Creating PWA with Angular 6 (Soon)
- Dynamic themes in Angular 6 Material (Soon)
- Angular 6 with GSAP (Soon)
- Angular 6 with Firebase (Soon)
First you must check the previous article in this series to create new Angular6 Application.
Now using the new ng add in Angular-CLI let’s install the Angular Material. In your application root directory run:
ng add @angular/material @angular/cdk
It updated the package.json and angular.json
Added BrowserAnimationsModule to your app.module.ts file
Added Material Icons,Roboto Font to index.html
You can generate a starter component including a toolbar and a side navigation. Run:
ng generate @angular/material:material-nav --name=navbar
This will generate a component named navbar and will add some material components to app.module.ts.
Let’s add our navbar to app.component.html
Open /src/app/app.component.html and add the navbar tag, your code should look like
<navbar></navbar> <router-outlet></router-outlet>
If you’re running a server for our app check your browser or run
ng serve --open
to see the changes we made.
But I think there’s something wrong with our menu. I fixed it and changed the links of the menu by adding our home and posts routes.
Here’s the final code of /src/app/navbar/navbar.component.html
<mat-sidenav-container class="sidenav-container">
  <mat-sidenav
    #drawer
    class="sidenav"
    fixedInViewport="true"
    [attr.role]="isHandset ? 'dialog' : 'navigation'"
    [mode]="(isHandset | async)!.matches ? 'over' : 'side'"
    [opened]="!(isHandset | async)!.matches"
  >
    <mat-toolbar color="primary">Menu</mat-toolbar>
    <mat-nav-list>
      <a mat-list-item routerLink="/">Home</a>
      <a mat-list-item routerLink="posts">Posts</a>
    </mat-nav-list>
  </mat-sidenav>
  <mat-sidenav-content>
    <mat-toolbar color="primary">
      <button
        type="button"
        aria-label="Toggle sidenav"
        mat-icon-button
        (click)="drawer.toggle()"
      >
        <mat-icon aria-label="Side nav toggle icon">menu</mat-icon>
      </button>
      <span>Application Title</span>
    </mat-toolbar>
  </mat-sidenav-content>
</mat-sidenav-container>
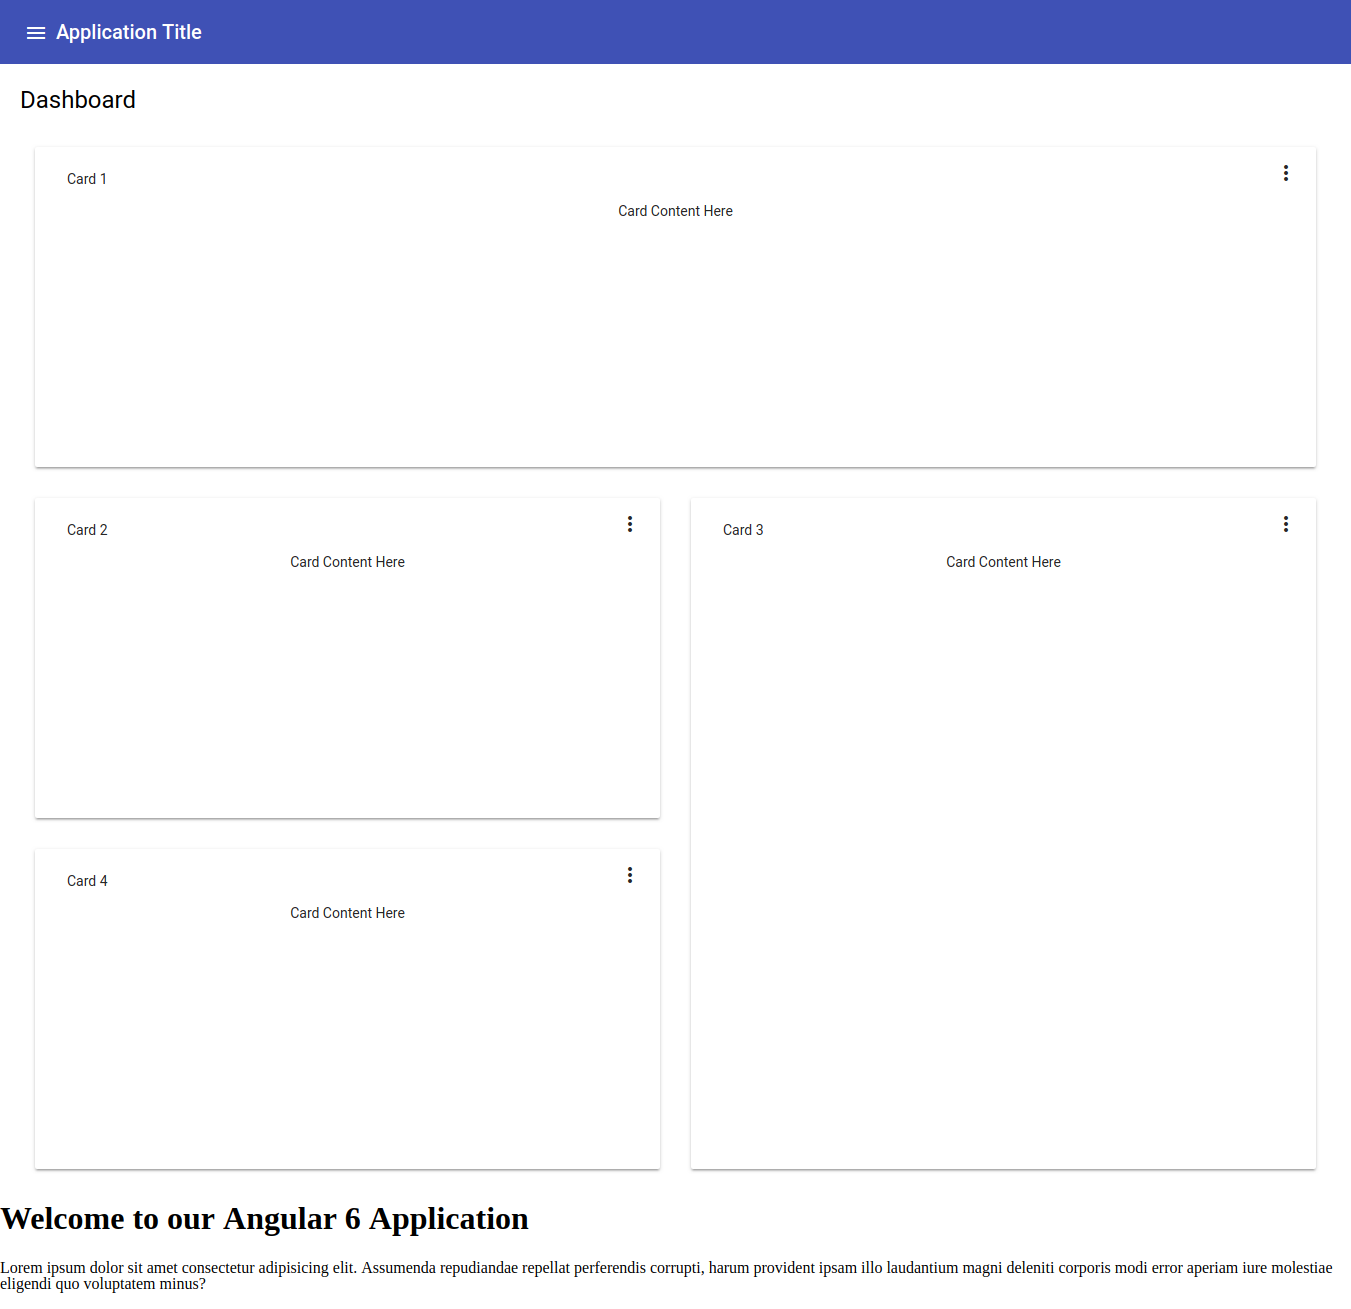
You can also generate a starter dashboard component containing a dynamic grid list of cards. Run:
ng generate @angular/material:material-dashboard --name=dash
You can see the result by adding <dash></dash> tag to your app.component.html
Your final /src/app/app.component.html should look like
<navbar></navbar> <dash></dash> <router-outlet></router-outlet>
You can generate a starter data table component that is pre-configured with a datasource for sorting and pagination. Run:
ng generate @angular/material:material-table --name=data-table
And add it like the previous one to see the results.
This new features of Angular 6 are cool but I prefer to put all the Material Modules in separated file named material.module.ts and I prefer to import most of the modules once. I don’t like importing one by one. I know that it’s not the best practice
So Let’s edit our app.module.ts:
import { BrowserModule } from "@angular/platform-browser";
import { NgModule } from "@angular/core";

import { AppRoutingModule } from "./app-routing.module";
import { AppComponent } from "./app.component";
import { HomeComponent } from "./home/home.component";
import { PostsComponent } from "./posts/posts.component";
import { BrowserAnimationsModule } from "@angular/platform-browser/animations";
import { MaterialModule } from "./material.module";

import { NavbarComponent } from "./navbar/navbar.component";
import { LayoutModule } from "@angular/cdk/layout";
import { DashComponent } from "./dash/dash.component";
import { DataTableComponent } from "./data-table/data-table.component";

@NgModule({
  declarations: [
    AppComponent,
    HomeComponent,
    PostsComponent,
    NavbarComponent,
    DashComponent,
    DataTableComponent
  ],
  imports: [
    BrowserModule,
    AppRoutingModule,
    BrowserAnimationsModule,
    MaterialModule,
    LayoutModule
  ],
  providers: [],
  bootstrap: [AppComponent]
})
export class AppModule {}
and create new file /src/app/material.module.ts and add the following code:
import { NgModule } from "@angular/core";

import {
  MatButtonModule,
  MatMenuModule,
  MatToolbarModule,
  MatIconModule,
  MatCardModule,
  MatGridListModule,
  MatSidenavModule,
  MatSortModule,
  MatTableModule,
  MatInputModule,
  MatSelectModule,
  MatSliderModule,
  MatRadioModule,
  MatListModule,
  MatProgressSpinnerModule,
  MatChipsModule,
  MatTooltipModule,
  MatExpansionModule,
  MatDialogModule,
  MatAutocompleteModule,
  MatTabsModule,
  MatSlideToggleModule,
  MatPaginatorModule
} from "@angular/material";

@NgModule({
  imports: [
    MatButtonModule,
    MatMenuModule,
    MatToolbarModule,
    MatIconModule,
    MatCardModule,
    MatGridListModule,
    MatSidenavModule,
    MatSortModule,
    MatTableModule,
    MatInputModule,
    MatSelectModule,
    MatSliderModule,
    MatRadioModule,
    MatListModule,
    MatProgressSpinnerModule,
    MatChipsModule,
    MatTooltipModule,
    MatExpansionModule,
    MatDialogModule,
    MatAutocompleteModule,
    MatTabsModule,
    MatSlideToggleModule,
    MatPaginatorModule
  ],
  exports: [
    MatButtonModule,
    MatMenuModule,
    MatToolbarModule,
    MatIconModule,
    MatCardModule,
    MatGridListModule,
    MatSidenavModule,
    MatSortModule,
    MatTableModule,
    MatInputModule,
    MatSelectModule,
    MatSliderModule,
    MatRadioModule,
    MatListModule,
    MatProgressSpinnerModule,
    MatChipsModule,
    MatTooltipModule,
    MatExpansionModule,
    MatDialogModule,
    MatAutocompleteModule,
    MatTabsModule,
    MatSlideToggleModule,
    MatPaginatorModule
  ]
})
export class MaterialModule {}
Now, we need to include *HammerJS for gesture support.
In your terminal, type:
npm install --save hammerjs
We have to include it, open /src/main.ts
import { enableProdMode } from "@angular/core";
import { platformBrowserDynamic } from "@angular/platform-browser-dynamic";

import { AppModule } from "./app/app.module";
import { environment } from "./environments/environment";
import "hammerjs";

if (environment.production) {
  enableProdMode();
}

platformBrowserDynamic()
  .bootstrapModule(AppModule)
  .catch(err => console.log(err));
Now I have to mention something as I know you might face a problem while using it.
Now we have 2 modules in our application ( app.module.ts and material.module.ts), so if you want to create new component or service you have to mention where do you want to add your new component.
Let’s see a practical example. If we want to create new component named test
in your terminal run( make sure you’re in your root directory first):
ng g component test --module app.module.ts
This will create new component named test and will add it to app.module.ts.
If you forgot to add the --module argument you’ll get an error next time adding new component.
That’s all for now
Some useful Links:
- 👨️ My Website/Portfolio
- 🔥 Get your $50 in FREE hosting credit HERE
- 🤑️ No Stripe? How To Get Paid With Payoneer ⇒ $25 + $10 Sign UP Bonus