This is the second part in an n-part series about the JavaScript framework, Angular 6.
In this part, we’ll go over build new Angular 6 Applicatin.
This is not intended to be a complete guide, but rather an overview of the basics to get you up and running so you can get to know using Angular CLI and how to build your Angular 6 application using it.
Article Series
- Angular 6 Article Series
- Building Angular 6 Application (You’re here)
- Using Angular Material with Angular 6
- Deploy Angular 6 to Netlify
- Creating PWA with Angular 6 (Soon)
- Dynamic themes in Angular 6 Material (Soon)
- Angular 6 with GSAP (Soon)
- Angular 6 with Firebase (Soon)
Upgrading Angular-CLI
I assume that you have nodejs and npm installed. If not you have to install them first. Just Google it.
First we need to upgrade our CLI or install it for the first time. The next command will install it or upgrade your current version.
Creating new Angular App
Now We want to use CLI to create new Angular 6 Application. Change your directory where you want to create the new app, then run
Where angular6-series is our application’s name. But we have some arguments here.
Let’s Explain each argument of our command
--routing: It builds our routes so I won’t have to build them myself--style=scss: It changes our styling extension fromcsstoscssas I prefer sass.--skip-tests: to skip creating tests files. But You may need them in this case you have to remove this argument.--service-worker: In this article series we’ll turn our application intoPWAand this argument is important for this step.
But If you want to build your application normally without all these options, just run:
After creating our new app. Move the app directory and run the server.
ng serve will run the server of our app and the argument --open will open it in the default browser.
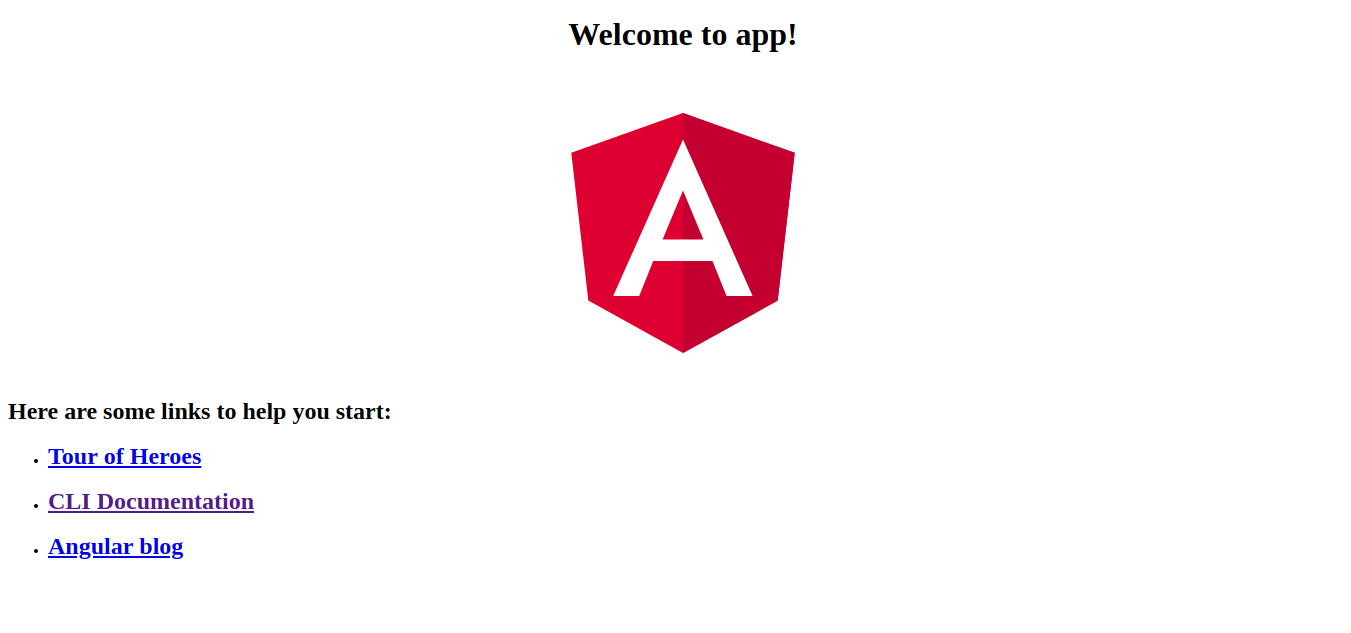
Now you should see this in your browser

Creating Components
Let’s create new component named home and make it our home page with some content.
This will create the component files. But you’ll see no change in your app. Let’s modify our src/app/app.component.html
Remove all the code and leave the last tag. It should look like
Now open /src/app/app-routing.module.ts
I want to add the new component as the home page.
We need to import the HomeComponent and add the route to routes array.
Now you should see your home component content in your home page.
Let’s edit our HomeComponent open /src/app/home/home.component.html
Let’s create another component named posts
First we need to add new route for our posts component
open /src/app/app-routing.module.ts and do like we did to the home component
our file should look like
Now open /src/app/posts/posts.component.html
and add some html
You can see our new component in the browser by visiting: http://localhost:4200/posts
That’s all for now.
Next: Using Angular Material with Angular 6 (soon)
Some useful Links:
- 👨️ My Website/Portfolio
- 🔥 Get your $50 in FREE hosting credit HERE
- 🤑️ No Stripe? How To Get Paid With Payoneer ⇒ $25 + $10 Sign UP Bonus