This is the fourth part in an n-part series about the JavaScript framework, Angular 6.
In this part, we’ll go over deploying our Angular 6 application to Netlify.
This is not intended to be a complete guide, but rather an overview of the basics to get you up and running so you can get to know Deployment on Netlify and how to deploy your Angular 6 application to it.
I’m going to deploy the application We created in the 3 previous articles, so you have to check them first!
Article Series
- Angular 6 Article Series
- Building Angular 6 Application
- Using Angular Material with Angular 6
- Deploy Angular 6 Application to Netlify (You’re here)
- Creating PWA with Angular 6 (Soon)
- Dynamic themes in Angular 6 Material (Soon)
- Angular 6 with GSAP (Soon)
- Angular 6 with Firebase (Soon)
Deploy our application to github
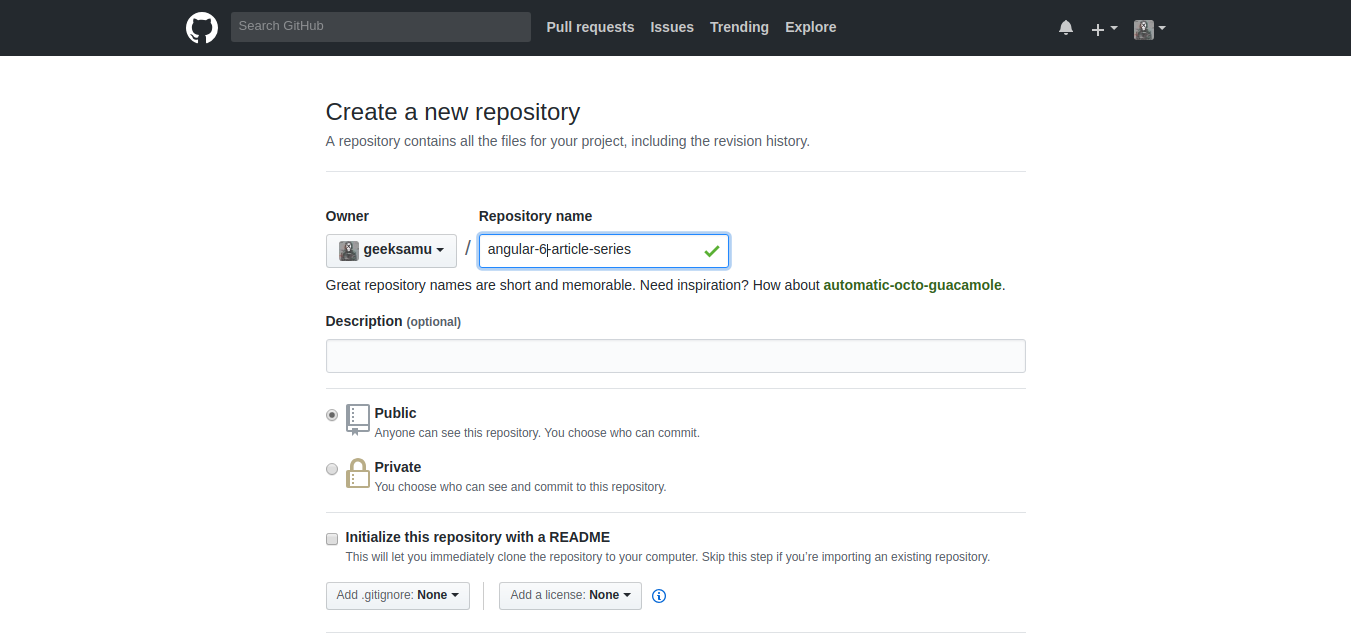
First we need to deploy our application to our github account. You have to create new repository from here
After creating your repository you should see a page like this but the name of the repo would be different
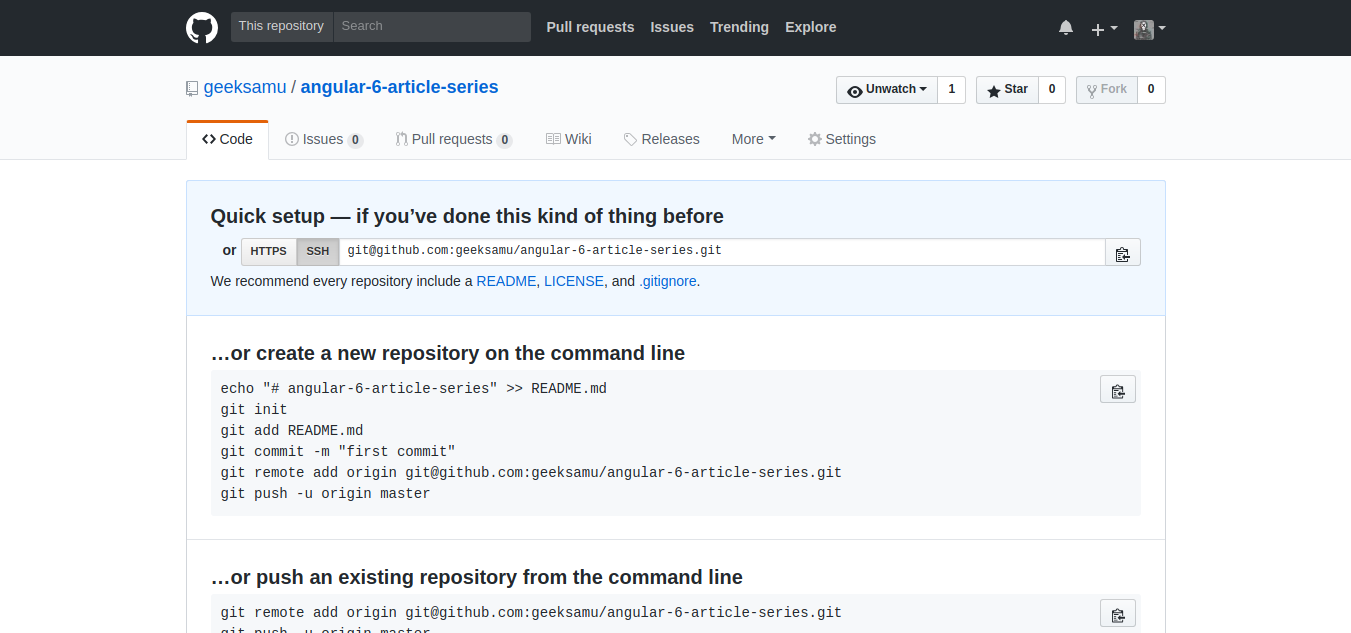
Now open you terminal and change your current directory to our app’s directory.
and run the next lines of code but you have to change the repo name to your repo’s name.
To add all our changes:
git add -A
then we have to commit these changes:
git commit -m "First commit before deployment"
You can change the commit title as you want. Next we have to run: but please don’t forget to change the repo-name and the username
git remote add origin [email protected]:your-username-here/your-repo-name-here.git
~ Change your-username-here and your-repo-name-here in the previous code to yours first.
Now let’s push our changes:
git push -u origin master
Netlify
Netlify is one of the most beautiful things I’ve seen lately, Actually I hope that I knew it before. It’s offer a lot of amazing features.
I deployed my own Portfolio on it. you can check it from here wb.gy.
It offers hosting for Front-End Projects with many options. I can’t count them in this article you have to check them yourself.
Deploying to Netlify
Let’s back to our deployment, you have to create an account on Netlify first using [Github, Gitlab, Bitbucket or Email] Choose what you want.
After that you’ll be redirected to create your site
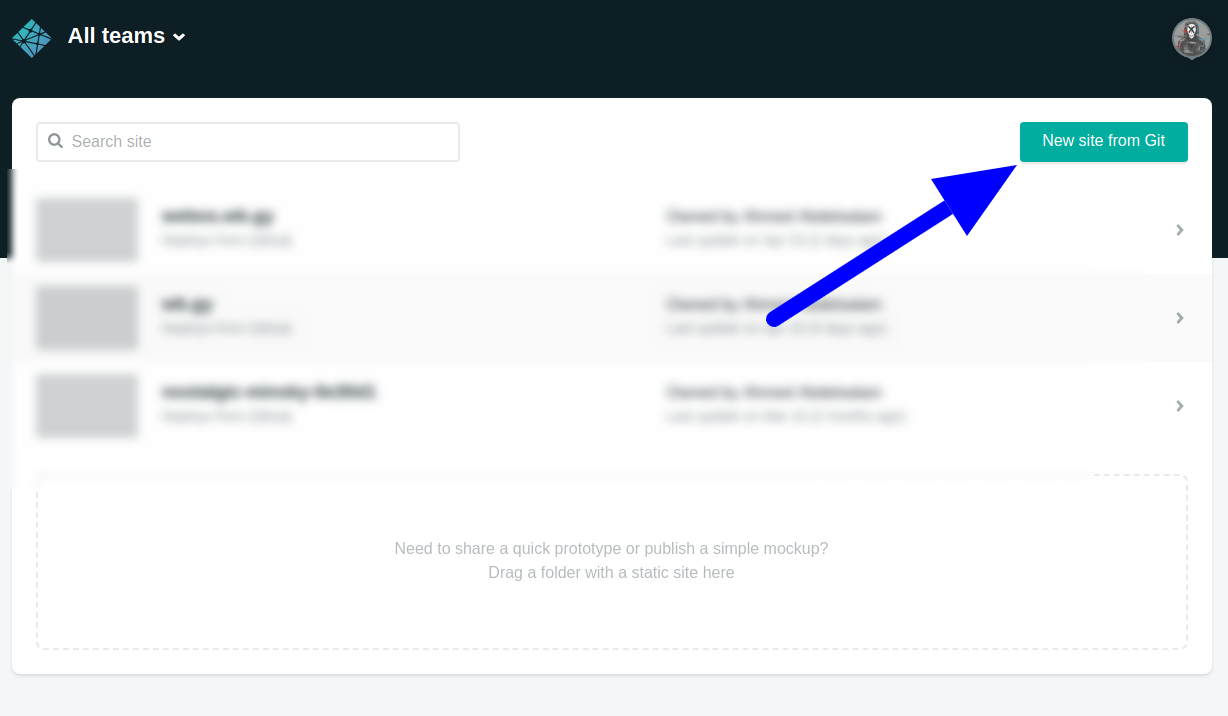
Click on New site from Git
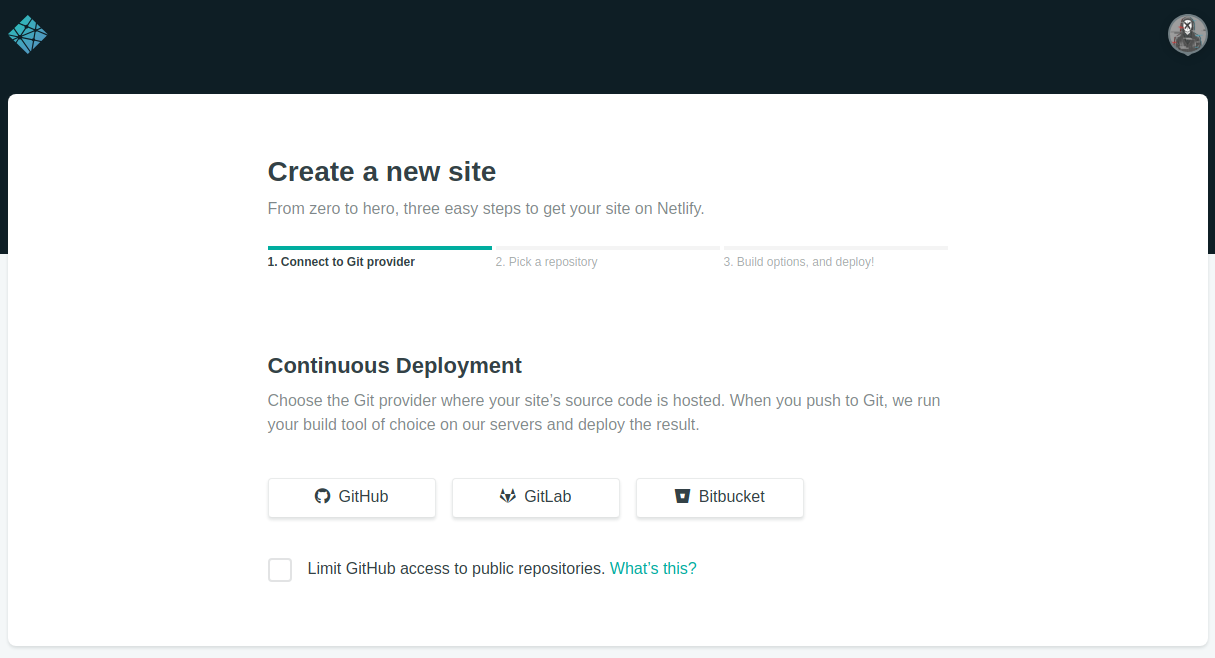
Now choose Github, if you’re using another git system choose it.
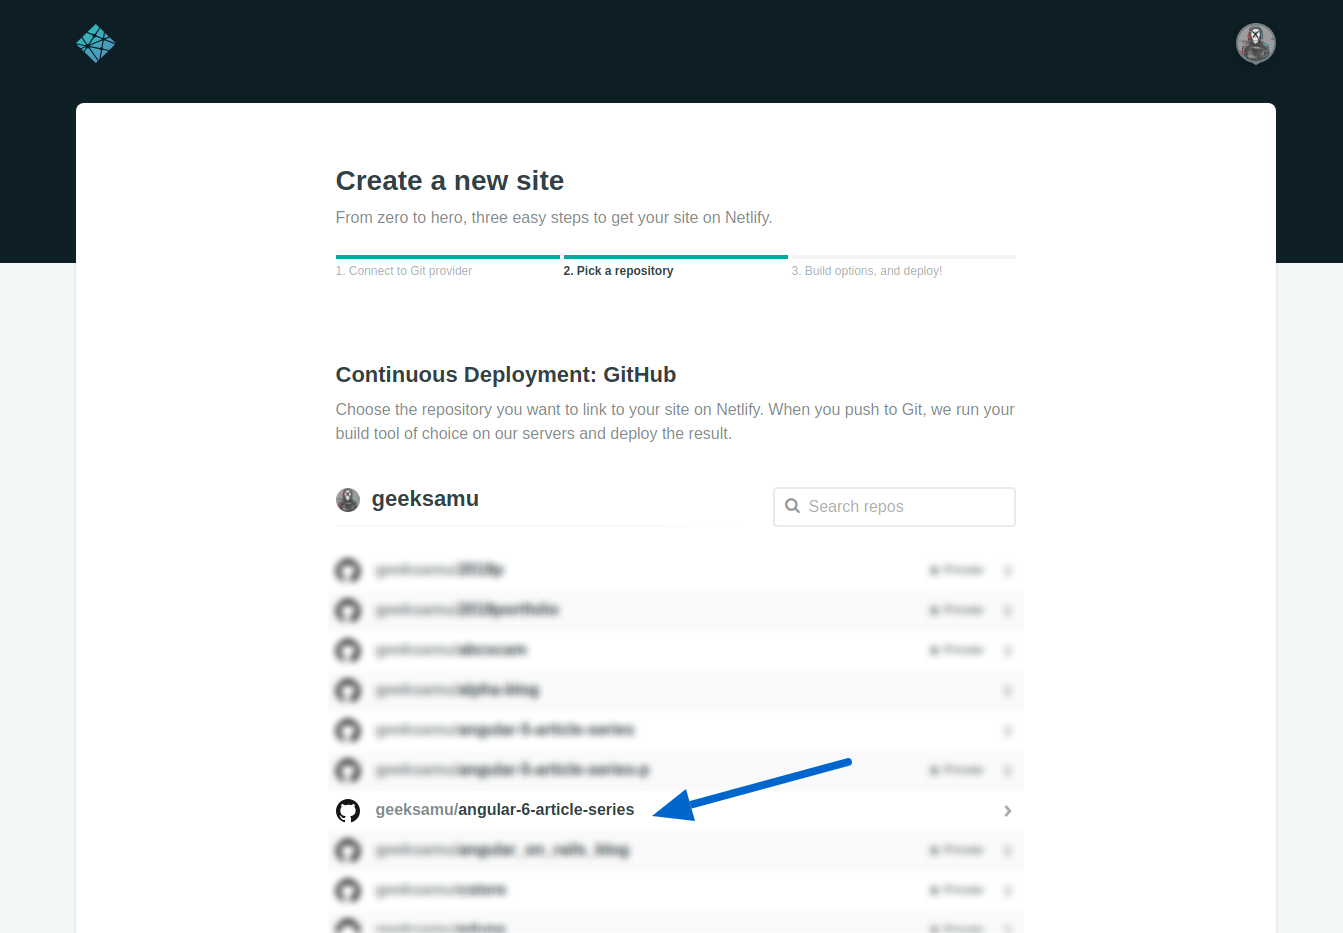
Next, choose your repo. I’ll deploy a repo named angular-6-article-series
 Next we have to set some settings for our deployment.
- For branch choose
master, If you’re using different branch choose it. - For Build command type
ng build --prodThis command I’ll explain it later in our series
- For Publish directory, type:
distWhydistexactly, it’s the directory angular creates when you runng buildso it’s our application’s directory.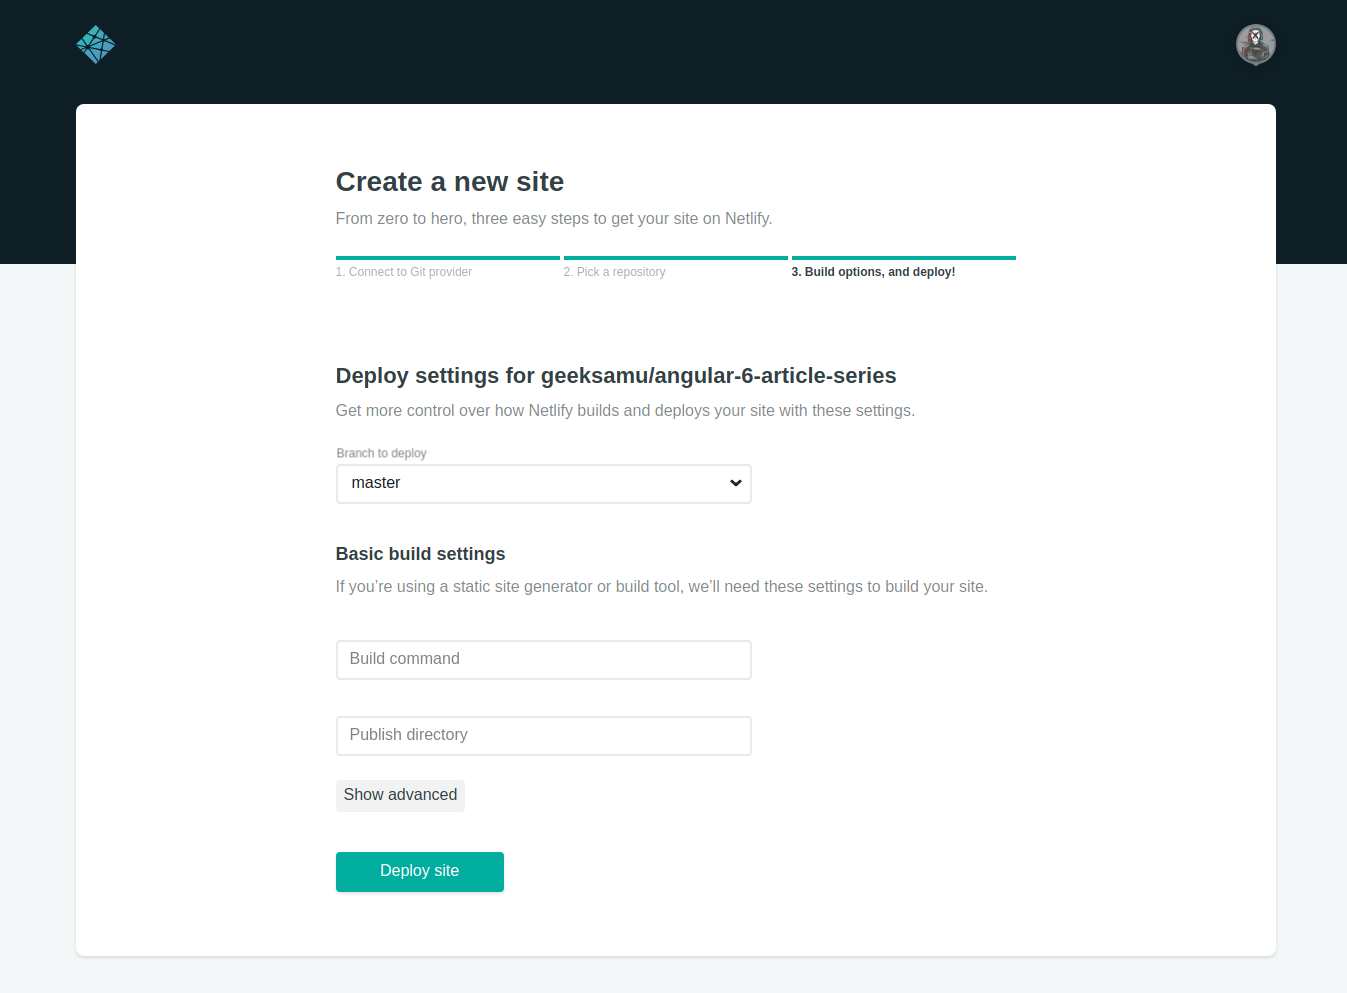
Then click Deploy site
It’ll take a minute to deploy our site and give us the URL.
This should work and your application will be deployed successfully, But mines does not work. I don’t know why! I see no errors. No problems. So I tried to deploy it using any method
If your application gives you 404 page. You can deploy your final dist folder only to Nelify.
Just run:
ng build --prod
It’ll create dist folder. Just drag it and drop it on this part of page in `Netlify
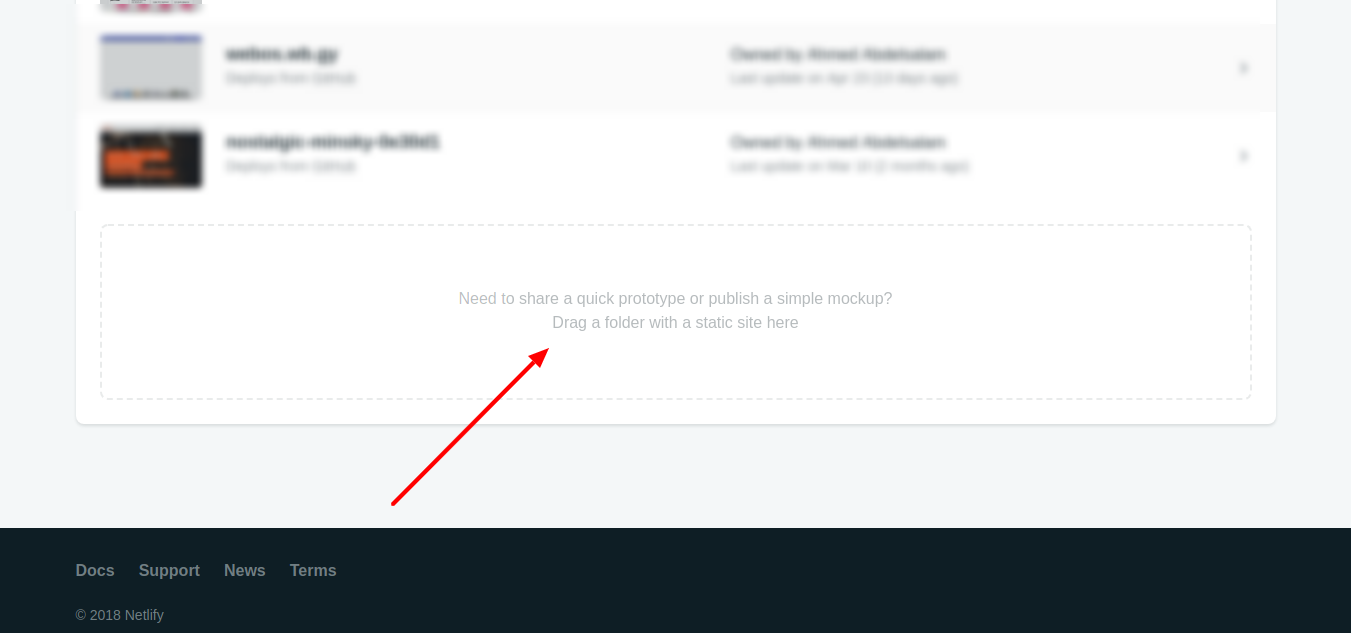
This solution will work but it’s not the best. We won’t be able to use Netlify’s continuous development
Here’s my deployment URL https://angular6-series.netlify.com
I know that the explanation with images in this article might be silly, but I really wanted it to be understood, so the next articles would be more simple and anyone with little experience would be able to build the final application.
Next: Creating PWA with Angular 6 (Soon)
Some useful Links:
- 👨️ My Website/Portfolio
- 🔥 Get your $50 in FREE hosting credit HERE
- 🤑️ No Stripe? How To Get Paid With Payoneer ⇒ $25 + $10 Sign UP Bonus