This is the second part in a seven-part series about the JavaScript framework, Angular 5.
In this part, we’ll go over adding Angular Material to our application.
This is not intended to be a complete guide, but rather an overview of the basics to get you up and running so you can get to know Angular Material and how to use it with Angular 5.
Article Series:
- Creating Angular 5 application with Angular-cli
- Using
Angular MaterialwithAngular 5(You are here) - Deploy Angular 5 Application to Netlify
- Build
PWAwith Angular 5 App - Build Dynamic themes for
Angular Material - Using
FlexLayoutwith Angular 5 - Building
NewsApp usingAngular 5
Final Demo here
Installing Angular Material
I’ll assume that you checked the previous article in this series and now you have an angular application with routes and sass styling, so let’s get into how to install Angular Material.
In your terminal cd to your application directory and run this line:
npm install --save @angular/material @angular/cdk
Some of the material components use the Angular animation library, which is also installed separately
npm install --save @angular/animations
Now we have to integrate these animations
Open src/app/app.module.ts
Now import the animations and add it to imports in @NgModule.
Here’s the code
import { BrowserModule } from "@angular/platform-browser";
import { NgModule } from "@angular/core";
import { BrowserAnimationsModule } from "@angular/platform-browser/animations";

import { AppRoutingModule } from "./app-routing.module";

import { ServiceWorkerModule } from "@angular/service-worker";
import { AppComponent } from "./app.component";

import { environment } from "../environments/environment";
import { PostsComponent } from "./posts/posts.component";

@NgModule({
  declarations: [AppComponent, PostsComponent],
  imports: [
    BrowserModule,
    BrowserAnimationsModule,
    AppRoutingModule,
    ServiceWorkerModule.register("/ngsw-worker.js", {
      enabled: environment.production
    })
  ],
  providers: [],
  bootstrap: [AppComponent]
})
export class AppModule {}
Creating Material Module
Now, we have to import the material components we want to use. and import them into the imports array of ngModule.
But the material components are too much, so I prefer creating a custom module specifically for our material component imports. Name it material.module.ts
Create a new file src/app/material.app.ts and paste the following code.
import { NgModule } from "@angular/core";

import {
  MatButtonModule,
  MatMenuModule,
  MatToolbarModule,
  MatIconModule,
  MatCardModule,
  MatGridListModule,
  MatSidenavModule,
  MatSortModule,
  MatTableModule,
  MatInputModule,
  MatSelectModule,
  MatSliderModule,
  MatRadioModule,
  MatListModule,
  MatProgressSpinnerModule,
  MatChipsModule,
  MatTooltipModule,
  MatExpansionModule,
  MatDialogModule,
  MatAutocompleteModule,
  MatTabsModule,
  MatSlideToggleModule
} from "@angular/material";

@NgModule({
  imports: [
    MatButtonModule,
    MatMenuModule,
    MatToolbarModule,
    MatIconModule,
    MatCardModule,
    MatGridListModule,
    MatSidenavModule,
    MatSortModule,
    MatTableModule,
    MatInputModule,
    MatSelectModule,
    MatSliderModule,
    MatRadioModule,
    MatListModule,
    MatProgressSpinnerModule,
    MatChipsModule,
    MatTooltipModule,
    MatExpansionModule,
    MatDialogModule,
    MatAutocompleteModule,
    MatTabsModule,
    MatSlideToggleModule
  ],
  exports: [
    MatButtonModule,
    MatMenuModule,
    MatToolbarModule,
    MatIconModule,
    MatCardModule,
    MatGridListModule,
    MatSidenavModule,
    MatSortModule,
    MatTableModule,
    MatInputModule,
    MatSelectModule,
    MatSliderModule,
    MatRadioModule,
    MatListModule,
    MatProgressSpinnerModule,
    MatChipsModule,
    MatTooltipModule,
    MatExpansionModule,
    MatDialogModule,
    MatAutocompleteModule,
    MatTabsModule,
    MatSlideToggleModule
  ]
})
export class MaterialModule {}
Here, we only including most of the components in Angular Material I know that it’s not the best practice to include all these components. But I prefer to include most of material components so I don’t have to add them myself later. I know that I’m too lazy 😎.
Next, we have to import material.module.ts into our app.module.ts.
import { BrowserModule } from "@angular/platform-browser";
import { NgModule } from "@angular/core";
import { BrowserAnimationsModule } from "@angular/platform-browser/animations";
import { MaterialModule } from "./material.module";

import { AppRoutingModule } from "./app-routing.module";

import { ServiceWorkerModule } from "@angular/service-worker";
import { AppComponent } from "./app.component";

import { environment } from "../environments/environment";
import { PostsComponent } from "./posts/posts.component";

@NgModule({
  declarations: [AppComponent, PostsComponent],
  imports: [
    BrowserModule,
    BrowserAnimationsModule,
    MaterialModule,
    AppRoutingModule,
    ServiceWorkerModule.register("/ngsw-worker.js", {
      enabled: environment.production
    })
  ],
  providers: [],
  bootstrap: [AppComponent]
})
export class AppModule {}
Theming
Next, we want to add a theme to our material.
Open /src/styles.scss and paste the following line
@import "~@angular/material/prebuilt-themes/indigo-pink.css";
Now, we need to include *HammerJS for gesture support.
In your terminal, type:
npm install --save hammerjs
We have to include it, open /src/main.ts
import { enableProdMode } from "@angular/core";
import { platformBrowserDynamic } from "@angular/platform-browser-dynamic";

import { AppModule } from "./app/app.module";
import { environment } from "./environments/environment";
import "hammerjs";

if (environment.production) {
  enableProdMode();
}

platformBrowserDynamic()
  .bootstrapModule(AppModule)
  .catch(err => console.log(err));
Material Design Icons
One last thing to go, we have to add the Material Design Icons
in /src/index.html add the following line before </head>
<link
  href="https://fonts.googleapis.com/icon?family=Material+Icons"
  rel="stylesheet"
/>
Simple Material Example
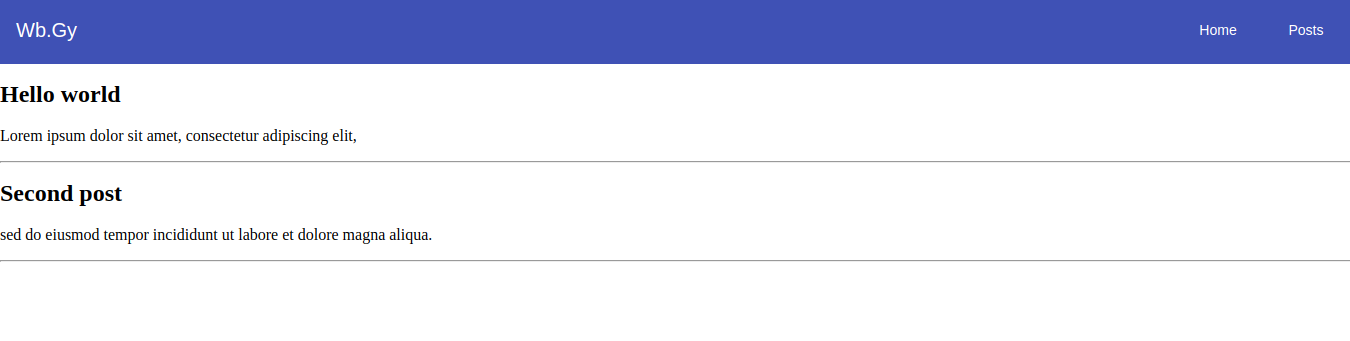
Let’s edit our previous html code, open /src/app/app.component.html and edit it like the following code.
<mat-toolbar color="primary">
  <mat-toolbar-row>
    <span>Wb.Gy</span> <span class="example-spacer"></span>
    <a routerLink="/" mat-button>Home</a>
    <a routerLink="/posts" mat-button>Posts</a>
  </mat-toolbar-row>
</mat-toolbar>
<router-outlet></router-outlet>
I just added some material components like (toolbar, button etc..) You can check the documentation here
We have to add some css to make our page look better,
open /src/styles.scss and add the following code:
body {
  margin: 0;
}
also /src/app/app.component.scss
.example-link {
  padding: 0 14px;
}
.example-spacer {
  flex: 1 1 auto;
}
Check your page now, it should look like this:
Let’s make it more complex and create a component for our home page to display some material components.
But this time I have to mention something as I know you might face a problem while using it.
Now we have 2 modules in our application ( app.module.ts and material.module.ts), so if you want to create new component or service you have to mention where do you want to add your new component.
Let’s see a practical example.
in your terminal run( make sure you’re in your root directory first):
ng g component home --module app.module.ts
This will create new component named home and will add it to app.module.ts.
First let’s add new route for our home component.
Open /src/app/app-routing.module.ts. You have to import home component and add it to routes.
import { NgModule } from "@angular/core";
import { Routes, RouterModule } from "@angular/router";

import { PostsComponent } from "./posts/posts.component";
import { HomeComponent } from "./home/home.component";

const routes: Routes = [
  {
    path: "",
    component: HomeComponent
  },
  {
    path: "posts",
    component: PostsComponent
  }
];

@NgModule({
  imports: [RouterModule.forRoot(routes)],
  exports: [RouterModule]
})
export class AppRoutingModule {}
Now you should see home works! in your browser.
Next I want to add some cool material components.
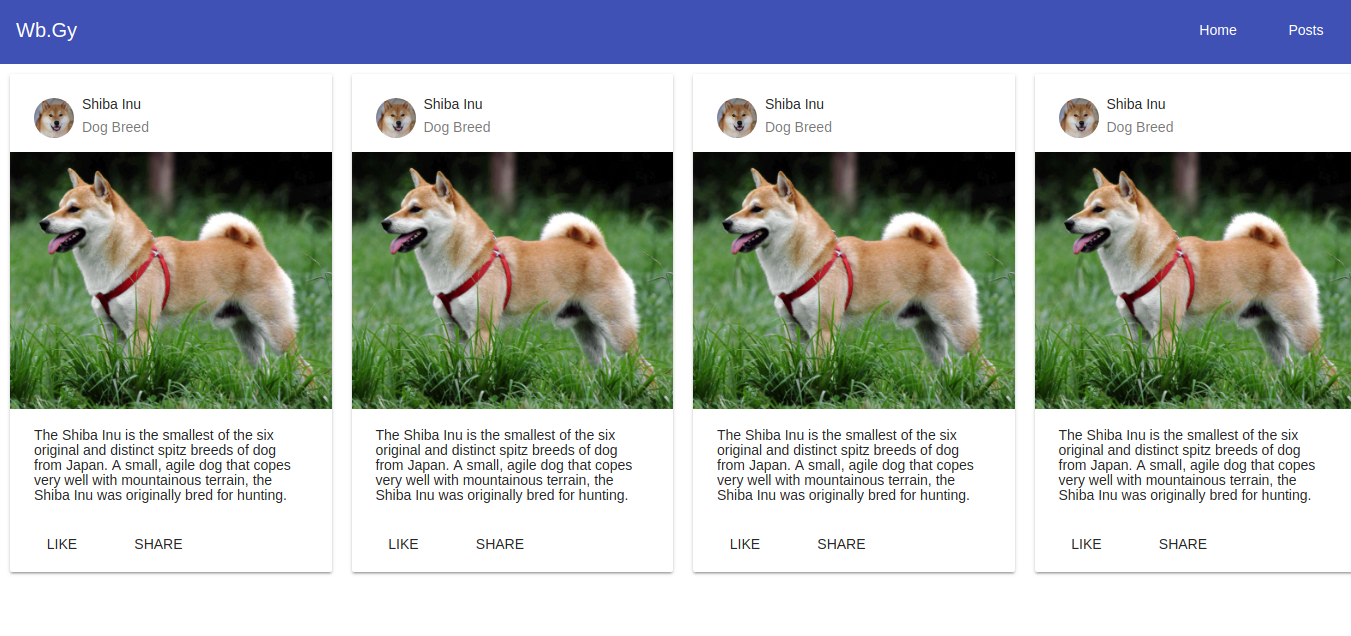
Open /src/app/home/home.component.html
<div class="container">
  <!-- repeat the next div to get the same result as my printscreen -->
  <div class="mycard">
    <mat-card class="example-card">
      <mat-card-header>
        <div mat-card-avatar class="example-header-image"></div>
        <mat-card-title>Shiba Inu</mat-card-title>
        <mat-card-subtitle>Dog Breed</mat-card-subtitle>
      </mat-card-header>
      <img
        mat-card-image
        src="https://material.angular.io/assets/img/examples/shiba2.jpg"
        alt="Photo of a Shiba Inu"
      />
      <mat-card-content>
        <p>
          The Shiba Inu is the smallest of the six original and distinct spitz
          breeds of dog from Japan. A small, agile dog that copes very well with
          mountainous terrain, the Shiba Inu was originally bred for hunting.
        </p>
      </mat-card-content>
      <mat-card-actions>
        <button mat-button>LIKE</button> <button mat-button>SHARE</button>
      </mat-card-actions>
    </mat-card>
  </div>
</div>
I removed the repeated code for brevity you can add it yourself.
and to create the grid I added the following code in /src/app/home/home.component.scss
.container {
  display: flex;
  flex-wrap: wrap;
}
@media only screen and (min-width: 768px) {
  .container > .mycard {
    flex-basis: calc(100% / 4);
  }

  .mycard {
    padding: 10px;
  }
  .example-header-image {
    background-image: url("../../assets/shiba1.jpg");
    background-size: cover;
  }

  @supports (display: grid) {
    .container {
      display: grid;
      grid-template-columns: repeat(4, 1fr);
    }

    .container > .mycard {
      flex: 1;
    }
  }
}
Here’s the result
Next: Deploy Angular 5 Application to Netlify
Some useful Links:
- 👨️ My Website/Portfolio
- 🔥 Get your $50 in FREE hosting credit HERE
- 🤑️ No Stripe? How To Get Paid With Payoneer ⇒ $25 + $10 Sign UP Bonus